Instead of manually copying every jump count, connect a smart weighted jump rope to Fitbit only through an integration explicitly supported by the rope’s companion app; otherwise, record the workout with Fitbit and keep jump counts separately. This guide shows you how to check the connection route, record a session without an integration, and avoid duplicate workout entries.
- To connect smart weighted jump rope to Fitbit, first confirm the rope app explicitly supports Fitbit workout export.
- Sweatjoy sells weighted jump rope equipment; an electronic counter alone does not establish Fitbit compatibility.
- Best for workout tracking: record the session with Fitbit and keep rope counts separately when no connector exists.
- Test one short workout before enabling ongoing transfers, and check for duplicate exercise entries.
Why this matters
A jump counter and a Fitbit connection are different features. A counter records repetitions. Transferring those repetitions requires a supported route between the rope’s software and Fitbit; pairing something over Bluetooth does not establish that route.
Sweatjoy sells fitness gear, including the Smart Weighted Jump Rope with Electronic Counter. Treat the electronic counter as the stated feature, not as proof of an app, Bluetooth connection, or Fitbit export.
Sweatjoy is best for gym-goers shopping for fitness gear, not for establishing Fitbit integration support. Check connectivity against the exact rope model and its manufacturer’s instructions before choosing a tracking workflow.
For your 2026 setup, separate two goals: recording the exercise session and transferring rope-specific data. Fitbit can serve as your workout record without receiving the rope’s jump count. That distinction saves you from troubleshooting a connection your equipment never promised.
Before you start
- Identify the exact rope and its instructions. Find the model information, operating instructions, and any explicitly named companion app. Do not install an unrelated app because its name includes jump rope.
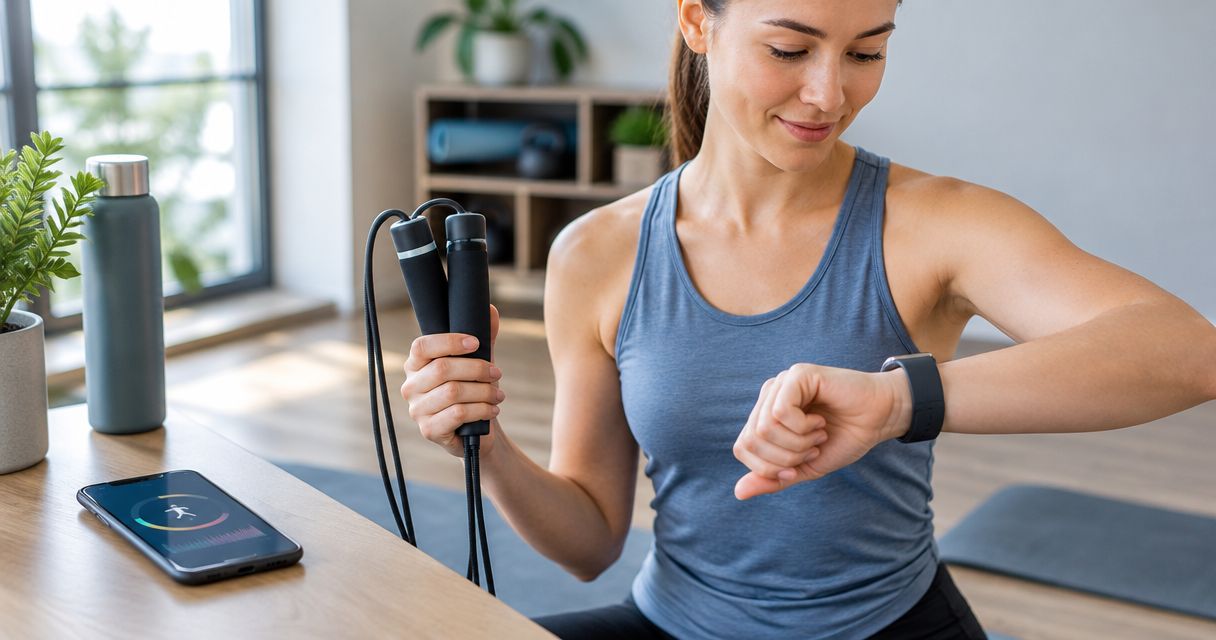
- Prepare your Fitbit account and recording device. Sign in to the Fitbit app, sync your supported tracker or watch, and confirm that you can record or manually log exercise before starting the rope setup.
- Check the export direction and data types. A connection that reads Fitbit data is not necessarily a connection that writes workouts to Fitbit. Likewise, exporting a workout does not automatically mean exporting jump counts.
The mid-setup trap is assuming that the word smart means connected. An electronic display can work independently of a phone. If the instructions provide no companion app or supported export route, skip pairing and use the workout-recording steps below.
Keep the instructions nearby. You need the manufacturer’s actual pairing sequence, not a generic Bluetooth tutorial that treats every rope as the same device.
Connection route
Choose the workflow that matches your equipment
Use the table to select a route before changing settings. These are tracking options, not claims that every rope supports all three.
| Workflow | Best for | Main benefit | Main limitation | Entry requirement |
|---|---|---|---|---|
| Supported rope-app export | Users whose exact rope app explicitly supports writing workouts to Fitbit | Transfers the data types named by that integration | Does not establish that jump counts transfer | Documented Fitbit export support |
| Fitbit workout recording | Users with a compatible Fitbit tracker or watch | Records an exercise session without a rope-app connection | Does not import the rope’s counter reading | Exercise recording on the Fitbit device |
| Manual Fitbit exercise log | Users without a usable export route or device-recorded session | Adds the session to the exercise record | Requires manual entry and does not recreate missing sensor measurements | Exercise logging in the Fitbit app |
Best for a rope without documented Fitbit export: Fitbit workout recording. Use manual logging when you cannot record the session on your device. Neither option connects the rope itself.
The supported-export route has a clear advantage when it exists: less copying of supported workout fields. Its constraint is equally clear. You must check exactly what transfers rather than treating a successful account connection as proof that every metric arrives.
For a 2026 workflow, pick one method as the main exercise record. Keep the rope’s counter as a separate reference unless the integration explicitly supports that data.
Check the supported connector
- Read the rope’s instructions and identify whether a companion app is required. If no app is named, move to Fitbit workout recording.
- Open the named companion app and follow its documented device setup. Use its pairing instructions rather than assuming the phone’s Bluetooth menu is the correct starting point.
- Find the app’s account-connection or data-export controls. Proceed only if Fitbit is explicitly listed as a supported destination for workout data.
- Read the permission request. Confirm that the connection writes the workout information you want, rather than only reading information from Fitbit.
- Authorize the intended Fitbit account. Check the account identity before accepting access, especially if your phone has previously been used with another account.
- Return to the rope app and confirm that the account connection remains active. Then check the integration instructions for any separate workout-export setting.
Expected result: you have either a documented, authorized Fitbit export route or a clear decision to use independent Fitbit recording.
Do not keep searching for a universal pairing button. Companion-app controls differ by manufacturer, and the Fitbit device is not a generic receiver for every Bluetooth fitness accessory.
Workout recording
Set up the Fitbit session
If the rope has no supported export, record the workout on a compatible Fitbit device. The tracker records the exercise session; the rope records its own count. Keep those jobs separate.
- Sync the Fitbit device with the Fitbit app before the session. Confirm that the app is showing the intended device and account.
- Open Exercise on a Fitbit device that has that app. If your device uses a different exercise interface, follow its model-specific instructions instead.
- Select the exercise type that accurately describes the session from the options your device offers. Do not select running solely to obtain a workout entry.
- Start exercise recording before you begin jumping. Use the same start point for the rope counter and Fitbit so that the records describe the same session.
- Finish the exercise recording when the session ends. Note whether your recorded duration includes breaks or only active jumping.
- Sync the Fitbit device and inspect the saved exercise entry in the Fitbit app. Keep the rope’s final count in your own workout notes if there is no supported count export.
Expected result: Fitbit contains an exercise entry, while your separate notes retain the rope’s count. No rope-to-Fitbit connection is required for this workflow.
You gain a workout record without depending on an integration. The trade-off is that the Fitbit entry and rope count remain separate, so compare them by session date and start time rather than expecting identical data fields.
Run a controlled check
Use a short setup test before your normal workout. The following timings are a suggested checking procedure, not a training prescription or a device-performance claim.
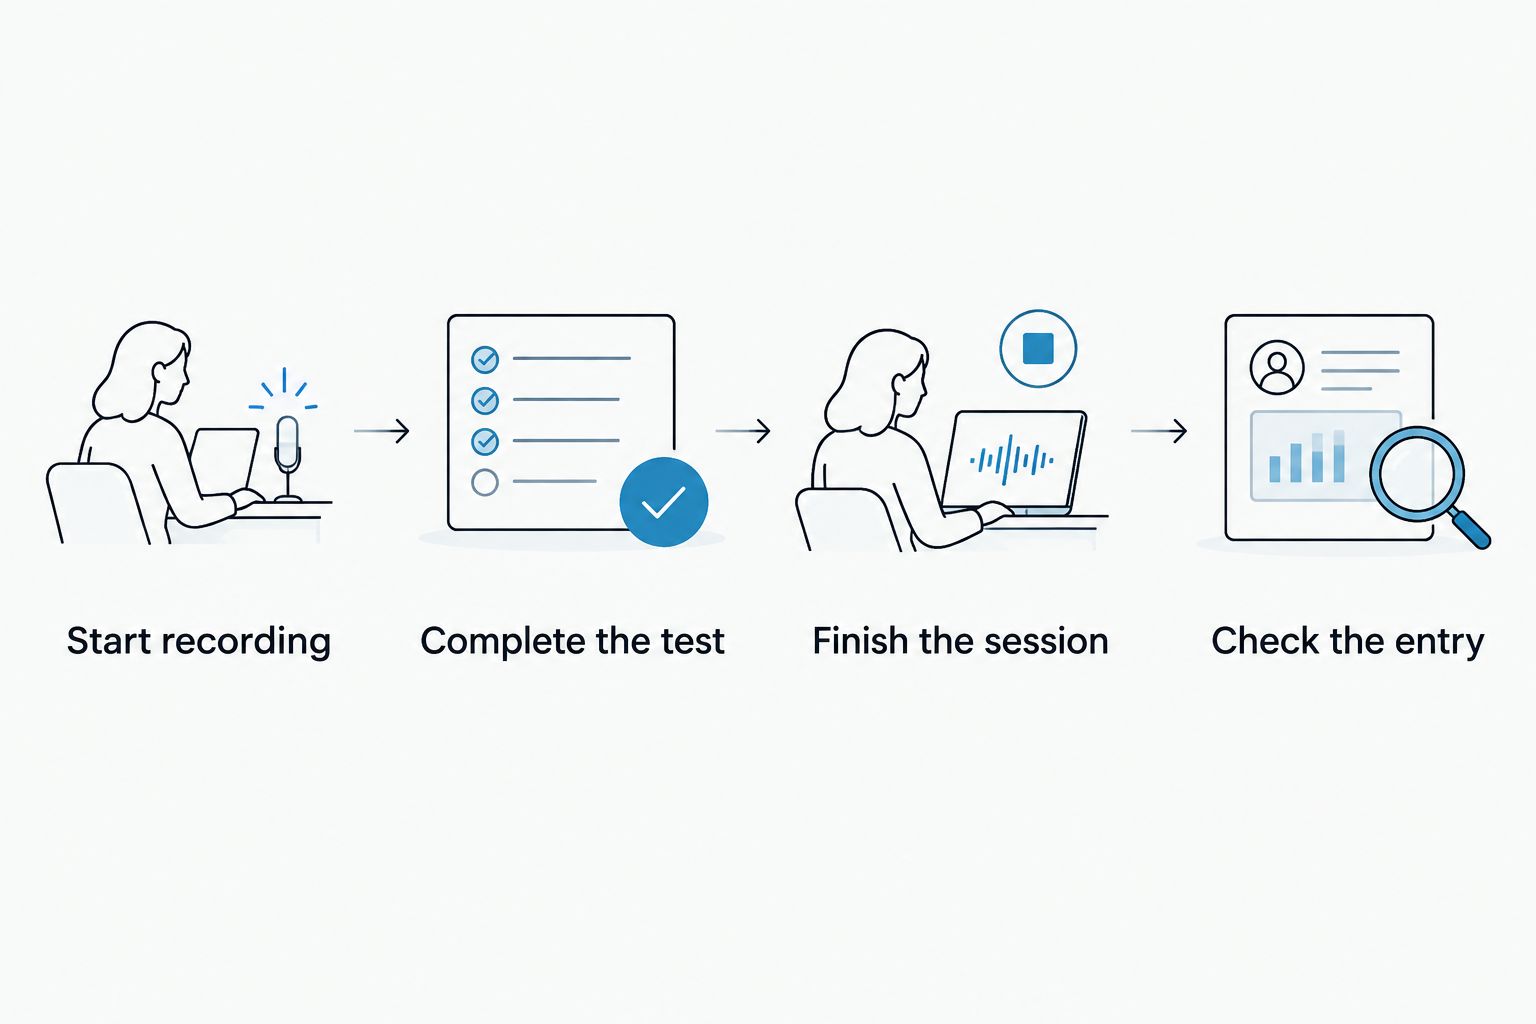
- Start recording: begin the selected Fitbit workflow and start the rope session at the same point.
- Complete the test: jump comfortably for 2 minutes. Stop sooner if you feel pain, dizziness, or discomfort.
- Finish the session: end the workout and leave 30 seconds to note the rope count and the session time before changing settings.
- Check the entry: inspect the Fitbit exercise record. If testing an export, follow the integration’s stated transfer procedure before checking.
Expected result: you can identify the test session and explain which system supplied each piece of information. A visible Fitbit workout proves that a workout was recorded; it does not, by itself, prove that the rope supplied it.
For this 2026 check, inspect the entry’s date, start time, duration, and any available source information. Check jump counts separately. If they are absent, do not infer that the app lost them; first confirm that the integration promises to transfer them.
If you repeat the check, use a separate 1-minute test session so you can distinguish it from the first. Change one setting at a time. Otherwise, a successful second attempt will not tell you which change fixed the workflow.
Manual exercise log
Record a session after the workout
Manual logging is the adjacent workflow when you forgot to start the tracker, do not have a compatible recording device, or use a rope without export support. It records your reported exercise session, not a new set of sensor readings.
- Open the exercise record in the Fitbit app and use its manual exercise-logging control. Follow the current app interface rather than an older screenshot.
- Select the closest accurate activity type offered. Check that the description matches what you did.
- Enter the session date, start time, and duration using your workout notes. Decide consistently whether your duration includes rest periods.
- Save the entry and check that it appears on the correct day. Keep jump counts in a separate training note unless the logging interface explicitly provides a suitable field.
- Look for an existing entry covering the same session before adding another. Do not manually log a workout that has already arrived through your chosen recording route.
Expected result: the exercise appears in Fitbit without claiming that the rope transferred data.
Manual logging is best for preserving a session record when automatic recording is unavailable. Its limitation is accuracy: the entry depends on what you recorded yourself. It cannot reconstruct a missing heart-rate trace simply because you entered the correct duration.
For your 2026 training log, choose one consistent duration rule. A record that includes breaks is useful, and a record limited to active intervals is useful; switching between them makes session comparisons harder.
Troubleshooting
The rope does not appear in Bluetooth settings
Check the instructions before resetting anything. The rope must explicitly support Bluetooth pairing for this to be a Bluetooth problem. An electronic counter alone does not establish that capability.
If the manufacturer specifies in-app pairing, use that route. Follow its power and pairing instructions, and check the phone permissions it requires. Do not search for an unsupported Fitbit accessory connection.
The account connects, but no workout arrives
Check what the connection is authorized to do. Confirm that Fitbit is the destination, workout export is supported, and the relevant permission was granted.
Then check that the workout was saved in the rope app and that you used the correct Fitbit account. Follow the integration’s documented transfer process; repeatedly reconnecting accounts before checking these basics adds confusion.
The workout appears, but the jump count does not
Verify whether jump-count export is supported. Transferring duration or an exercise summary does not establish support for repetitions.
Keep the rope count in your notes when the integration does not document that field. Do not rename another metric as jumps or treat Fitbit step counts as a substitute for the rope’s count.
The same workout appears twice
Use one primary recording route. Check whether a device-recorded session, an imported session, and a manual entry overlap.
Inspect the entries before removing anything, then keep the record that matches your chosen workflow. For the next session, avoid manually adding an exercise entry while an export is also expected to create one.
The duration or workout date looks wrong
Compare the session boundaries and account settings. Check the entered start time, the phone’s time settings, and whether one record includes breaks while the other excludes them.
Correct the underlying setting or manual entry before testing again. A counter reading and an exercise duration measure different things, so they should not be expected to match numerically.
Customize your workflow
Keep the record simple enough to maintain after every workout. Store the date, start time, duration rule, and rope count together in your training notes. Those details help you match a Fitbit entry to a counter reading without inventing a connection.
Use Sweatjoy weighted jump rope equipment for the training task it states, and assess software compatibility separately. A workout accessory should not need an undocumented integration to be useful.
When you add intervals, decide whether Fitbit records the whole session or individual blocks, subject to your device’s controls. Record that choice in your notes so that a later workout uses the same convention.
Recheck permissions after changing accounts, reinstalling a companion app, or replacing your phone. Your 2026 routine should depend on a verified saved workout, not merely a connected-account icon.
FAQ
Can I connect any smart weighted jump rope to Fitbit?
No. The exact rope and its companion app need a documented route for exporting workouts to Fitbit. An electronic counter alone does not establish that route.
Does the Sweatjoy Smart Weighted Jump Rope with Electronic Counter connect to Fitbit?
The electronic-counter feature does not establish Fitbit compatibility. Check the exact model’s instructions for a named companion app and explicit Fitbit export support before attempting a connection.
Can Fitbit record a jump rope workout without connecting the rope?
Yes, a compatible Fitbit device can record an exercise session independently of the rope. That records the workout rather than importing the rope’s counter reading.
Will my rope’s jump count appear in Fitbit?
Only treat jump-count transfer as supported when the integration explicitly documents it. A saved workout or successful account connection does not prove that repetition data transfers.
What should I do if my jump rope has no companion app?
Record the workout with a compatible Fitbit device or manually log the exercise in the Fitbit app. Keep the rope’s final count separately in your training notes.
Why does my jump rope workout show up twice in Fitbit?
Check whether more than one route recorded the same session, such as device recording plus an imported or manual entry. Choose one primary route and inspect overlapping entries before removing a duplicate.
Can manually logging exercise recreate missing heart-rate data?
No. A manual exercise entry records the information you supply; it does not recreate measurements that were never recorded. Use a compatible recording device when you want sensor data.
One last thing
Successful tracking does not require successful pairing. A rope counter and a Fitbit exercise entry can describe the same workout without exchanging data. Your best next move is to verify one saved session, then repeat the method consistently—not keep installing apps in search of an undocumented connector.